It’s really annoying to enter a password every time I want to SSH into a remote server. ssh supports various authentication methods such as GSSAPI, host-based, etc. but I usually use password (symmetric key encryption) or public key method authentication.
(If you are curious about ssh’s authentication methods, check out the AUTHENTICATION section of man ssh.)
I’m in the process of converting all of my ssh connections to public key authentication on all of my servers because I’m tired of typing passwords. This is where the ssh-copy-id command comes in, and today we’re going to learn about this friend.
But first, let’s take a quick look at public key cryptography.
Public Key Cryptography
This is an authentication method that uses a private key and a public key. Unlike passwords, the keys used for encryption and decryption are different.
In the public key method, there is a submitting side and a solving side. The test taker creates a mathematical problem based on the public key that is difficult to solve without the private key. The problem solver cannot solve the problem without the private key, and only the person with the private key can solve the problem and authenticate it. Even if someone with the public key creates the problem, they cannot solve it unless they have the private key. This is why they are sometimes called asymmetric ciphers.
This is why SSH also uses public key authentication.
public key password in SSH
There are four steps in the authentication process.
Preparation -> Access request and information exchange -> Digital signature generation (client) -> Signature verification (server)
Preparation
In the preparation process, the client generates a private and public key with the ssh-keygen command. You can specify the type of key you want to use with the -t option.
The client also copies its public key to the remote server it wants to connect to and registers it in the .ssh/authorized_keys file.
You can use
ssh-copy-idto do this.
Requesting access and exchanging information
- client requests SSH connection to server
- the server and user start encrypted communication, sharing temporary information such as a unique Session ID that will be used only for this communication. This Session ID is a unique value that changes with each connection.
Generate digital signature (client)
- the client creates a message based on the session ID it just shared with the server.
- It then encrypts the message using its private key. The result is a digital signature.
Signature verification (server)
- the client sends the generated digital signature to the server.
- the server gets the public key in
authrized_keys. - it uses this public key to verify that the digital signature sent by the client is valid.The verification process mathematically checks two things
- Was the signature really created with the private key paired with that public key?
- Does the signature match the session ID that was initially shared?
ssh-copy-id
As mentioned briefly above, the Preparation process, the ssh-copy-id is used. In public key authentication, it is necessary to add the client-generated public key to the remote server’s ~/.ssh/authrized_keys, and this command simplifies this tedious task.
The basic usage is as follows
ssh-copy-id [username]@[serveraddress]Alternatively, you can use the name of the Host set in ~/.ssh/config.
ssh-copy-id [hostname]
```bash ssh-copy-id [hostname

The following image shows how to set the public key to the remote `proxmox` host with `ssh-copy-id`.
![[ssh-copy-id-1756822514887.webp]]

> `-i` option to specify a specific public key file to copy.

### Execution process

1. **Run the command**:  Run the command to copy a specific public key file named `ssh-key-2025-07-31.key.pub` to the `proxmox` server.
2. connect to the remote server: connect to the server (`root@192.168.1.107`) to register the public key with the server.
3. Automatically copy and set up: If the user enters the correct password, `ssh-copy-id` will automatically add the public key to the remote server's `authorized_keys` file and set up the necessary permissions.
4. **Success**: A message "1 key added" will let you know that everything went well. From now on, you can connect directly with the specified key without a password.

If `ssh-copy-id` is not present, you will need to add it manually.

```bash
cat ~/.ssh/id_rsa.pub | ssh [username]@[serveraddress] \
"mkdir -p ~/.ssh && \
 touch ~/.ssh/authorized_keys && \
 chmod 700 ~/.ssh && \
 chmod 600 ~/.ssh/authorized_keys && \
 cat >> ~/.ssh/authorized_keys"
In this way.
The ssh-copy-id is a command that handles this process automatically. The implementation consists of a shell script.

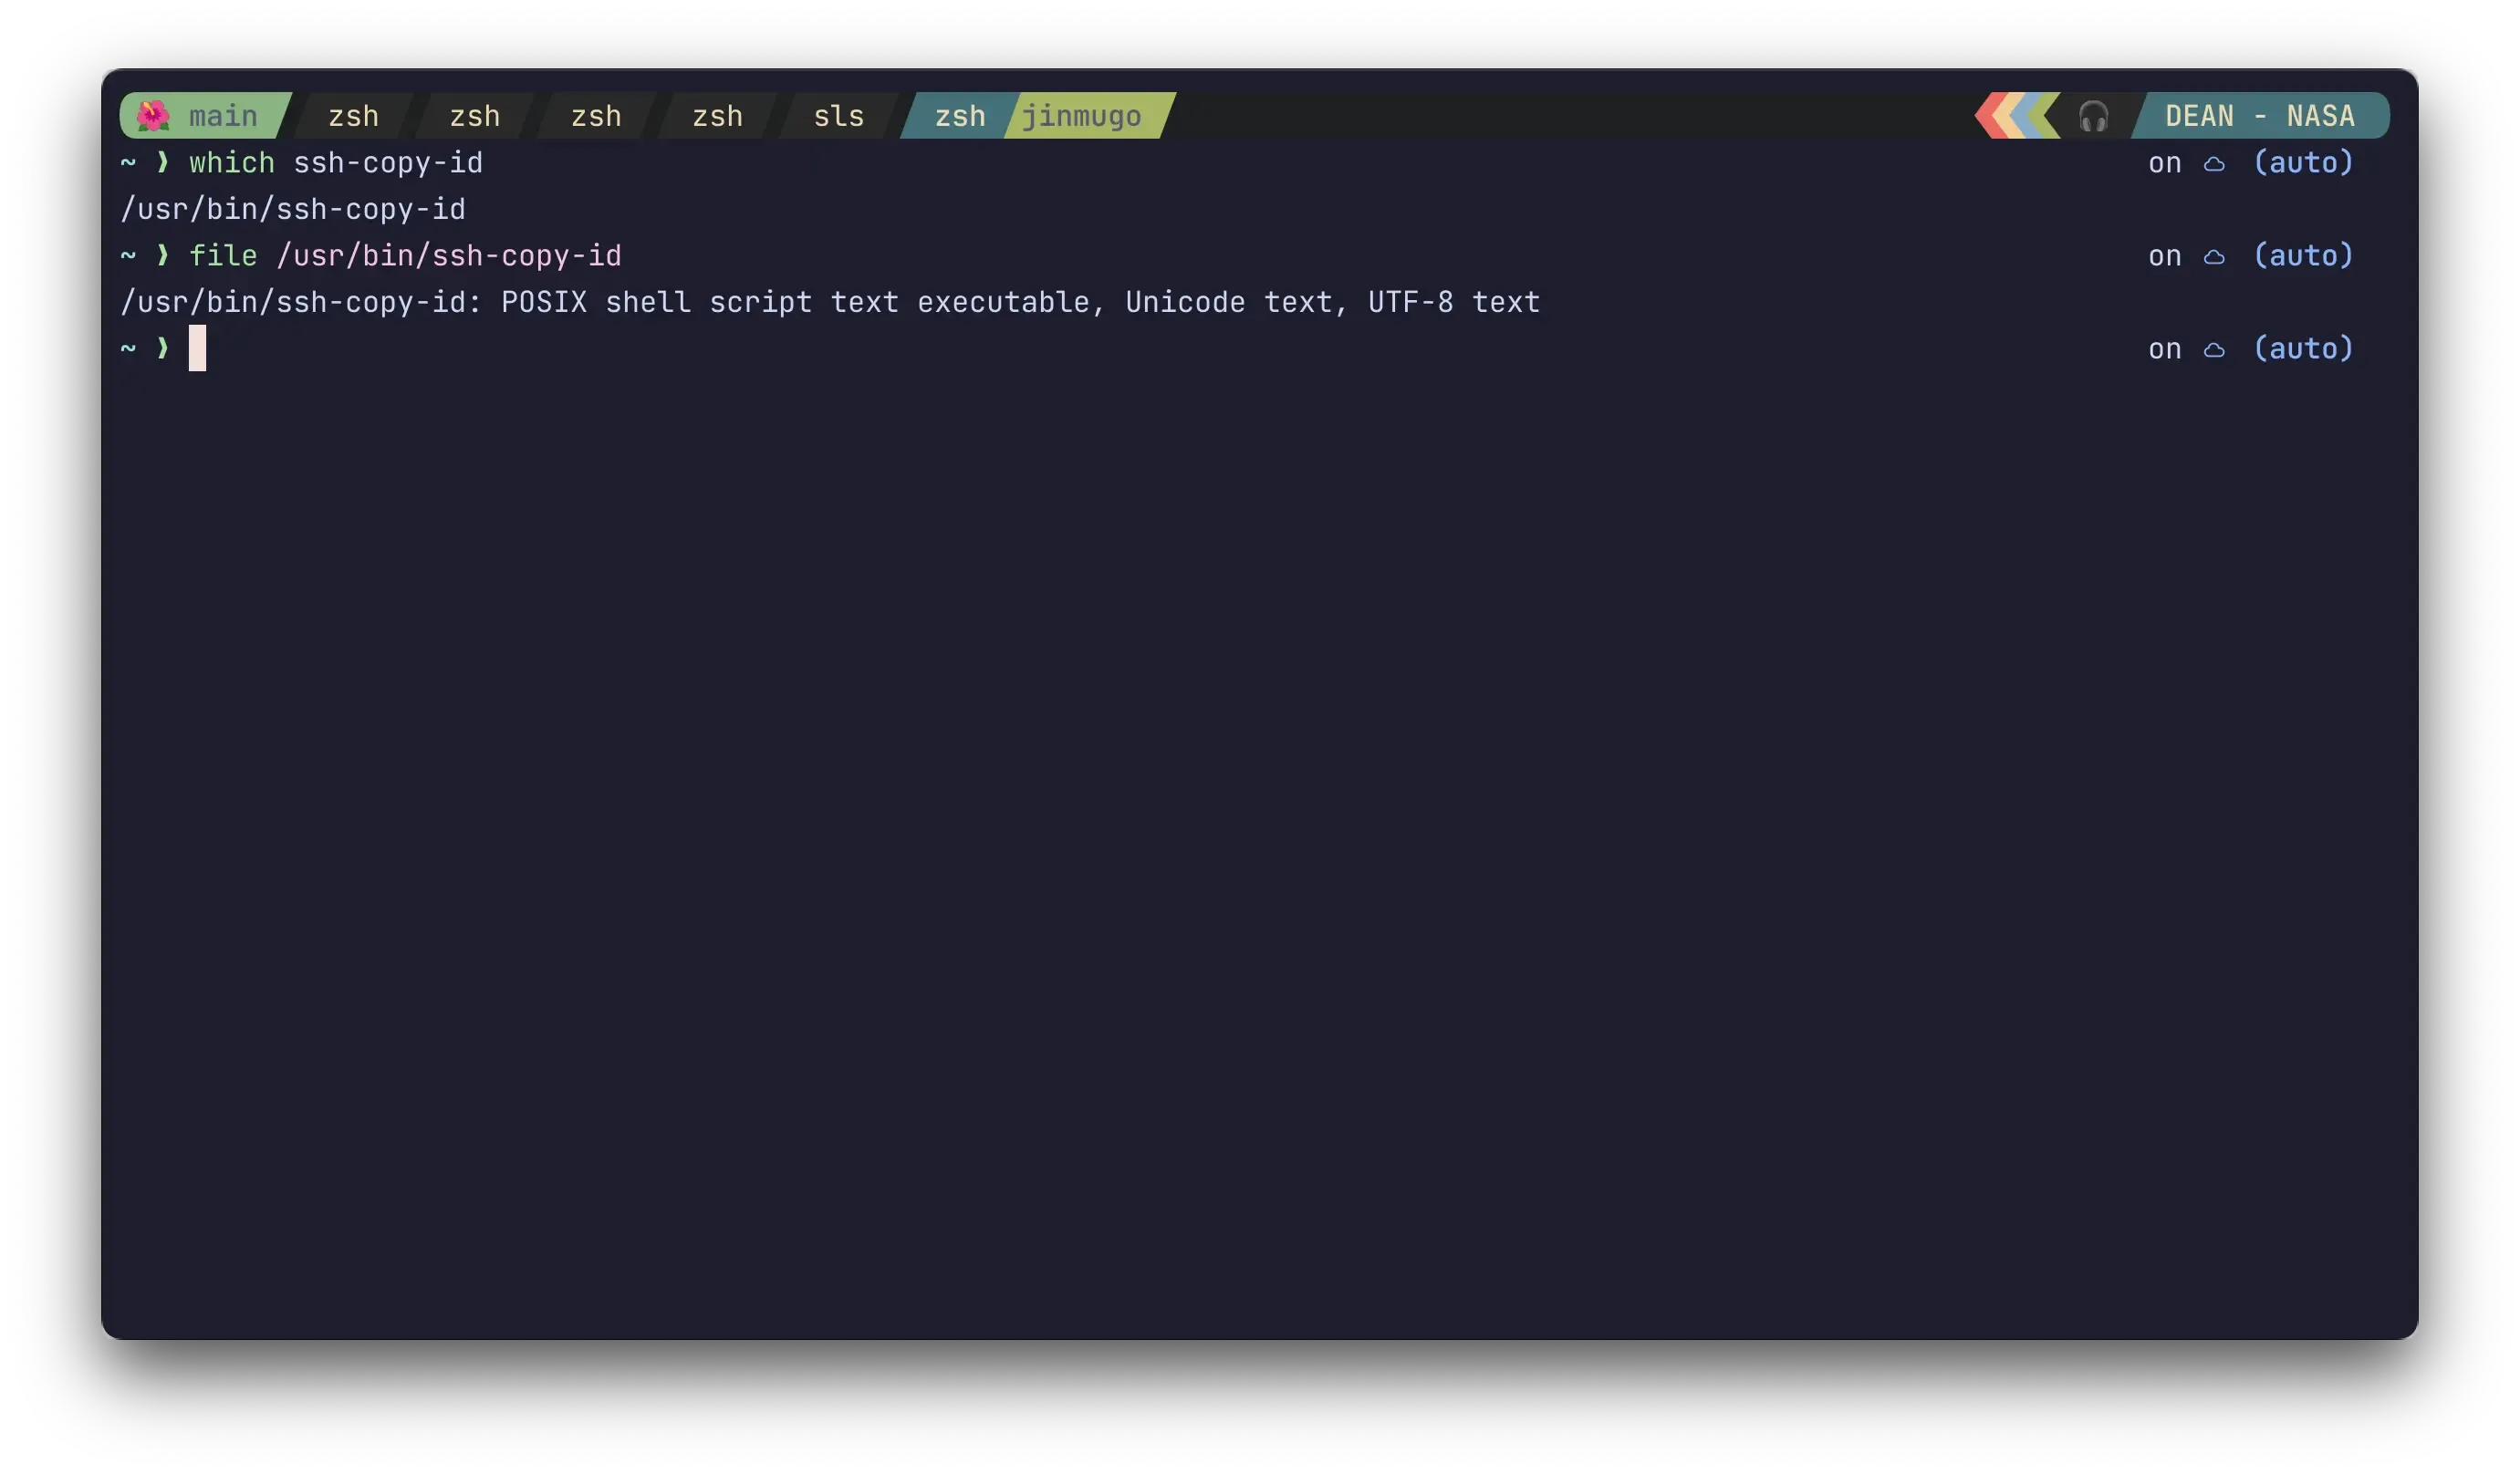
It’s about 416 lines long on MACOS, so if you’re curious, you can open the file in the path specified by which ssh-copy-id and check it out.
Set up the server-side sshd daemon
Even if you have successfully copied the public key using ssh-copy-id, you will not be able to connect if the server’s SSH configuration does not allow public key authentication.
Open the remote server’s /etc/ssh/sshd_config file to see and change the following entries
# whether to allow public key authentication (required)
PubkeyAuthentication yes

# Location of the authorized public key list file
AuthorizedKeysFile .ssh/authorized_keys .ssh/authorized_keys2
# Most modern Linux using Systemd (Ubuntu, CentOS 7+, etc.)
sudo systemctl restart sshd
# or
sudo systemctl restart ssh
# for older systems using init.d
sudo service ssh restartCleanup
Public key authentication is a great way to avoid the hassle of entering a password every time you connect to a remote server. However, the process of registering a public key with the server is more tedious than it sounds. It requires a combination of commands such as mkdir, touch, chmod, cat, and many others.
Thankfully, ssh-copy-id is here to save you from this mistake-prone process with a single command. It connects to the remote server, finds the authorized_keys file, matches the permissions, and copies the keys, all in one command.
Now let’s save ourselves the trouble with ssh-copy-id.